
Getting started
HeatmapPilot runs in Blender 5.3 or newer, on Windows, macOS and Linux.
Install
Section titled “Install”- Download the zip from Superhive. Keep it zipped.
- In Blender, open Edit > Preferences > Add-ons.
- Click the arrow at the top right and pick Install from Disk, then choose the zip.
HeatmapPilot is on once it is installed. To update it, install the new zip the same way. Your budget stays with your files, and your own presets stay in Blender’s user folder.
Your first view
Section titled “Your first view”- Open a scene and look through the camera you will use in the game, or any view.
- In the 3D Viewport’s header, open View Mode and pick Triangle Density.
- Stop moving the viewport for a moment. HeatmapPilot colours every pixel by the triangles drawn on it.
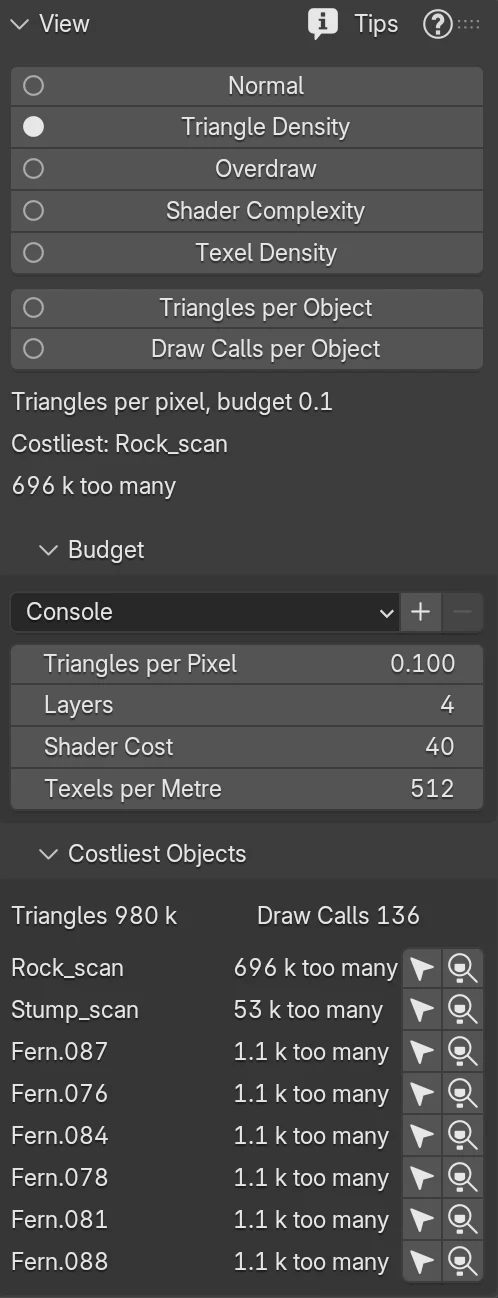
Green is on budget, red is ten times over it. Press N and open the HeatmapPilot tab to see the budget and the objects that cost the most.
In a narrow viewport the header shows only the menu’s icon. You also find View Mode at the end of the viewport’s View menu.
Pick your platform
Section titled “Pick your platform”In the Budget panel, open the preset menu and pick Mobile, Console or PC. HeatmapPilot sets the four targets from it, and every view reads against them. Budget says what each target means.
Back to normal
Section titled “Back to normal”Pick Normal in View Mode. Each viewport keeps the view you picked for it until you change it. A saved file opens with every viewport normal.